Makeup is a powerful tool that allows individuals to express themselves, boost their confidence, and enhance their natural beauty. Whether you’re a beginner or looking to refine your skills, understanding the essential techniques and products can make all the difference in your makeup application. This guide will walk you through the fundamental steps of makeup application, highlighting tips and tricks to elevate your look for any occasion.
Preparing Your Canvas: Skincare First
Before diving into makeup, it’s crucial to prepare your skin. A good skincare routine lays the foundation for a flawless makeup application. Start by cleansing your face to remove any impurities and excess oil. Following cleansing, apply a toner to balance your skin’s pH levels. This step helps to hydrate and refresh the skin, making it more receptive to the products that follow.
Next, moisturizing is vital. Choose a lightweight moisturizer for oily skin and a richer cream for dry skin. Allow the moisturizer to absorb fully before applying any makeup products. Additionally, consider using a primer tailored to your skin type. A good primer creates a smooth base, helps makeup adhere better, and can minimize the appearance of pores. Choose a mattifying primer for oily skin, a hydrating one for dry skin, or a color-correcting primer if you want to address specific skin concerns.
Step 1: Foundation Application
Foundation is key to achieving an even skin tone and providing a canvas for the rest of your makeup. There are various formulations available, including liquid, powder, cream, and stick foundations, each catering to different skin types and preferences. For a natural look, opt for a foundation that matches your skin tone and offers buildable coverage.
To apply foundation, use a makeup sponge or a brush for an even finish. Start in the center of your face and blend outward, ensuring a seamless application around the jawline and hairline. For areas that need extra coverage, such as blemishes or redness, you can build up the product gradually. Remember to blend well to avoid any harsh lines.
Step 2: Concealer for Flawless Skin
After applying foundation, concealer is your go-to product for covering any remaining imperfections, dark circles, or blemishes. Choose a concealer that is one shade lighter than your foundation for under-eye areas to brighten and lift the eyes. For blemishes, select a concealer that matches your foundation.
Apply concealer using a small brush or your fingertip, gently dabbing it onto the area you want to cover. Blend it seamlessly into the foundation, ensuring there are no visible edges. For under-eye concealing, use a tapping motion with your ring finger to avoid tugging the delicate skin.
Step 3: Setting with Powder
Setting powder is essential for locking your makeup in place and controlling shine throughout the day. Translucent powder works well for most skin tones, as it sets your makeup without adding color. If you have dry skin, you may prefer a hydrating setting spray instead.
To apply powder, use a fluffy brush and lightly dust it over your face, focusing on areas prone to oiliness, such as the T-zone. Avoid applying too much product, as this can lead to a cakey appearance. For extra longevity, you can use a setting spray after powder application to ensure everything stays in place.
Step 4: Adding Dimension with Blush, Bronzer, and Highlighter
To create a natural-looking flush and add dimension to your face, incorporate blush, bronzer, and highlighter into your makeup routine. Start with bronzer to define your cheekbones and add warmth to your complexion. Using a fluffy brush, apply bronzer to the hollows of your cheeks, along your jawline, and on your forehead, creating a sun-kissed glow.
Next, apply blush to the apples of your cheeks, blending it upwards toward your temples for a lifted effect. Choose a shade that complements your skin tone; peachy tones work well for warm undertones, while pinks suit cooler skin tones.
Finally, highlighter enhances your features and adds a radiant finish. Apply highlighter to the high points of your face, such as the tops of your cheekbones, the bridge of your nose, and your brow bone. Use a fan brush or your fingertips to ensure a soft and natural glow.
Step 5: Defining Your Eyes
The eyes are often the focal point of any makeup look. Start with eyeshadow to add color and dimension. Choose a neutral palette to create a versatile look for day or night. Apply a transition shade to your crease to define your eye shape, and then layer a darker shade on the outer corner for depth.
For added drama, consider using a shimmery or metallic shade on the eyelids. A small brush can help you apply this precisely, ensuring a smooth finish. Blend all colors together for a seamless transition, and don’t forget to apply a lighter shade to the inner corners to brighten the eyes.
Next, eyeliner is key to defining your eyes. Whether you prefer a subtle line or a bold wing, eyeliners come in various forms—pencil, gel, liquid, or felt-tip. Choose the one that you feel most comfortable using. For a softer look, apply eyeliner on the upper lash line and smudge it slightly for a smoky effect.
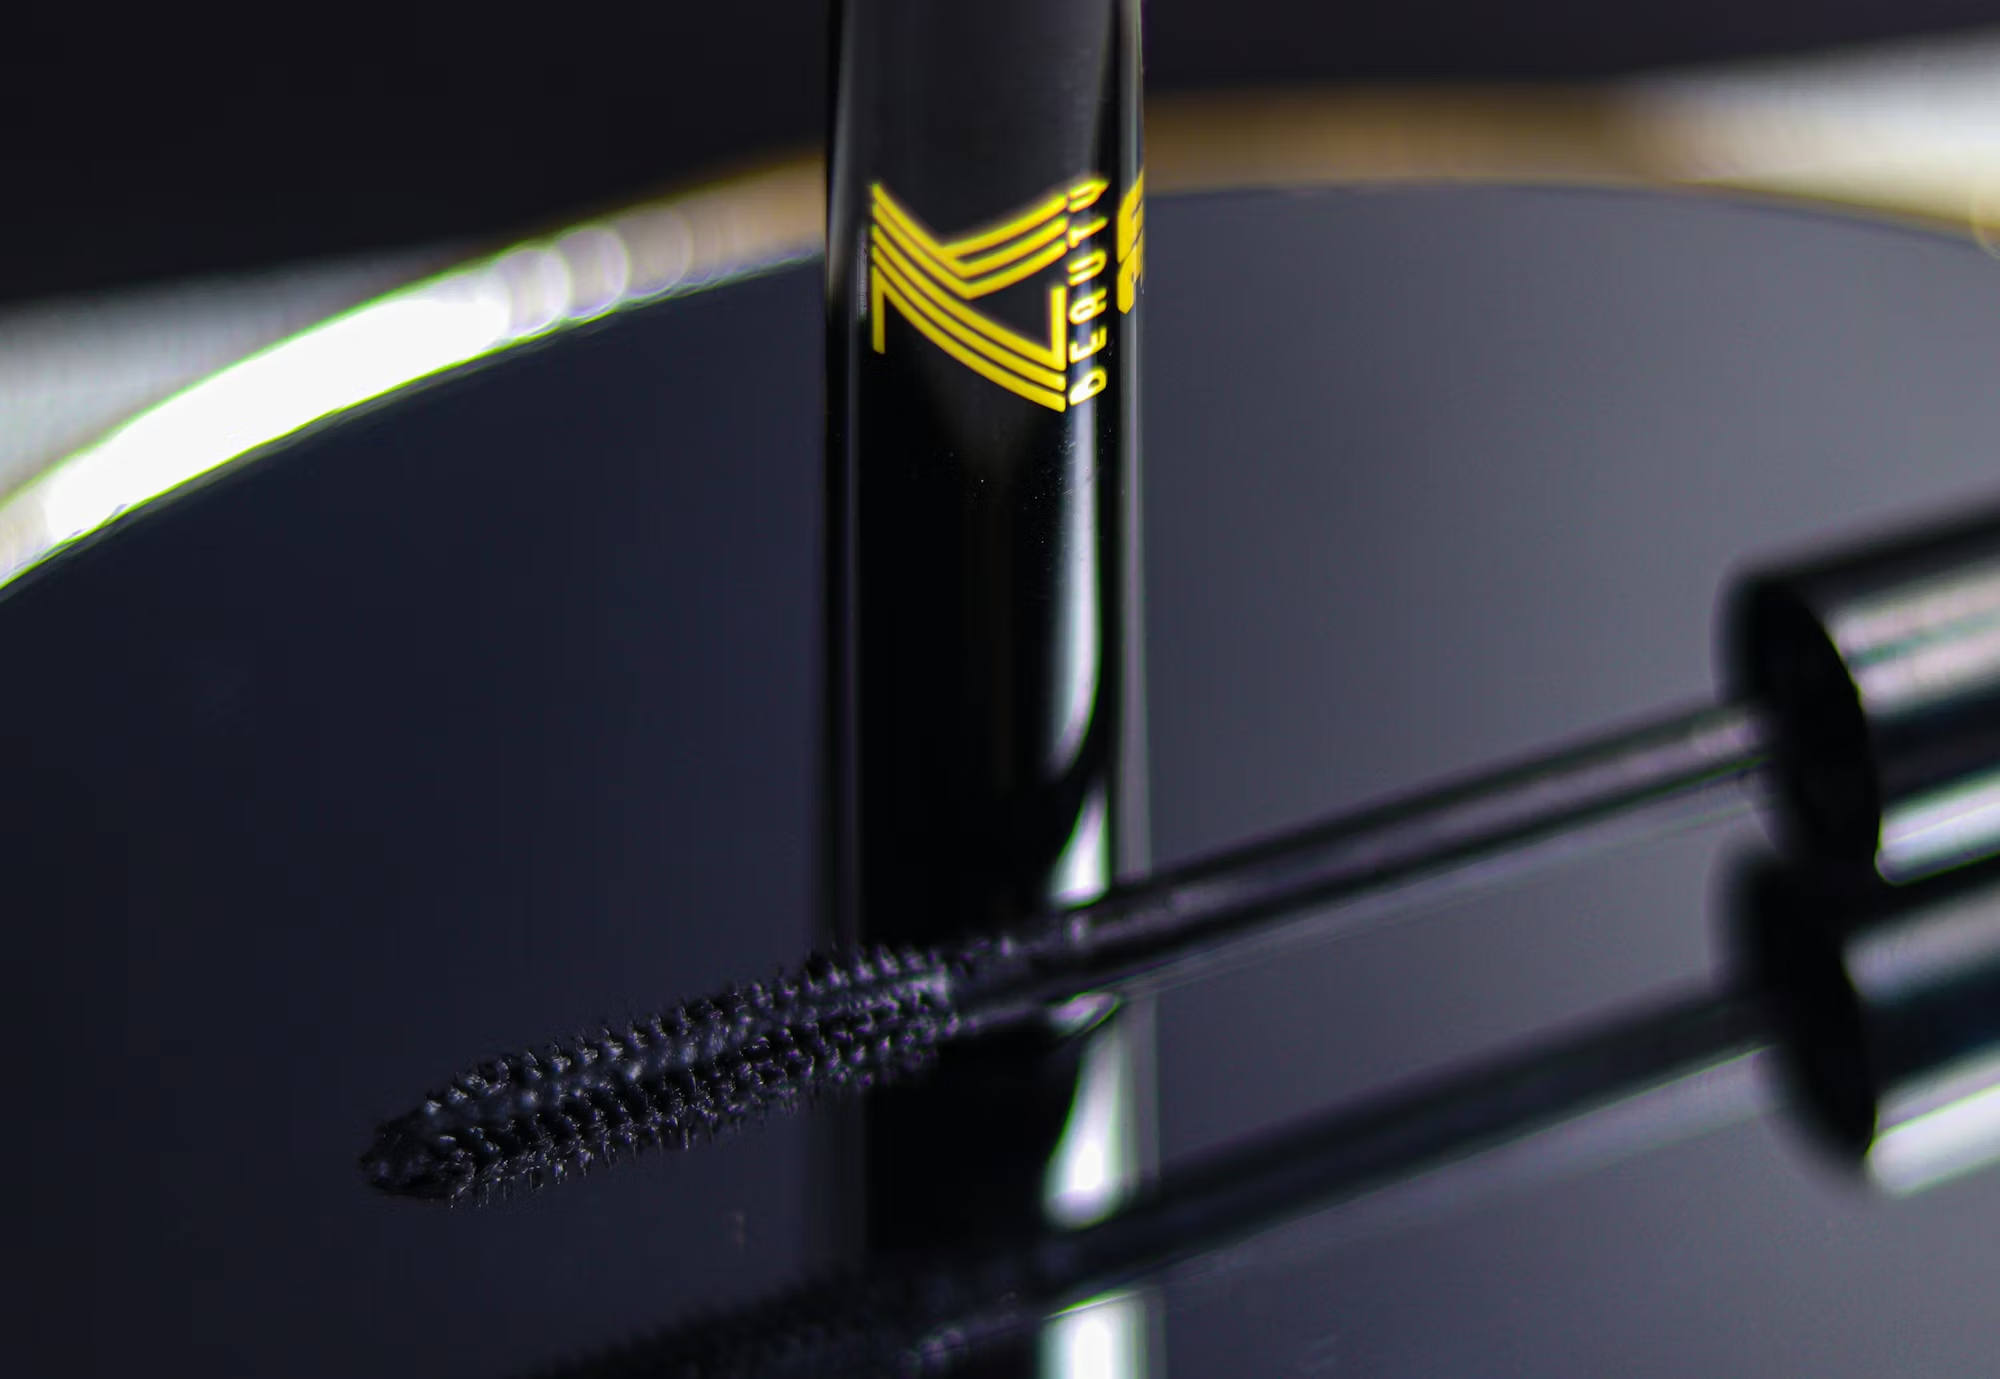
Finish your eye makeup with mascara to lengthen and volumize your lashes. Apply multiple coats for added drama, and don’t forget your lower lashes for a more complete look. If you desire extra definition, consider using false lashes for special occasions.
Step 6: Lip Products for the Finishing Touch
Lips complete your makeup look, so choosing the right lip product is essential. Start by exfoliating your lips to create a smooth canvas. Then, apply a lip balm to keep your lips hydrated. For a polished look, use a lip liner to define your lips and prevent your lipstick from feathering.
When selecting lipstick, consider the occasion and your overall look. For everyday wear, a nude or soft pink lip is perfect. For evening events, don’t hesitate to experiment with bold colors like red or deep plum. Apply your lipstick with a brush for precision, or directly from the bullet for a bolder application. Finish with a touch of gloss if you desire added shine.
Step 7: Setting Your Makeup
To ensure your makeup lasts all day, setting sprays can be a game changer. These sprays lock in your makeup and provide a fresh finish. Hold the spray about 8–10 inches away from your face and mist evenly, allowing it to dry naturally.
Conclusion
Makeup application is both an art and a skill that can be mastered with practice and patience. By following these essential steps—preparing your skin, applying foundation, concealing imperfections, defining your features, and completing with eye and lip products—you can create a polished look for any occasion. Remember, makeup should enhance your natural beauty and allow you to express your unique style. So, have fun with your makeup, experiment with different products, and let your creativity shine through.